注目記事
本日のピックアップ
AMSTEC株式会社査定無料で不動産売却相談,
伊豆高原 別荘売却のAMSTEC株式会社では、別荘売却に特化した経験豊富なスタッフが、お客様の大切な物件の価値を最大限に引き出します。伊豆市内の不動産市場に精通しており、それぞれの物件に合わせた適切な…
[不動産業][不動産・賃貸]0views

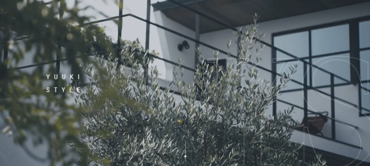
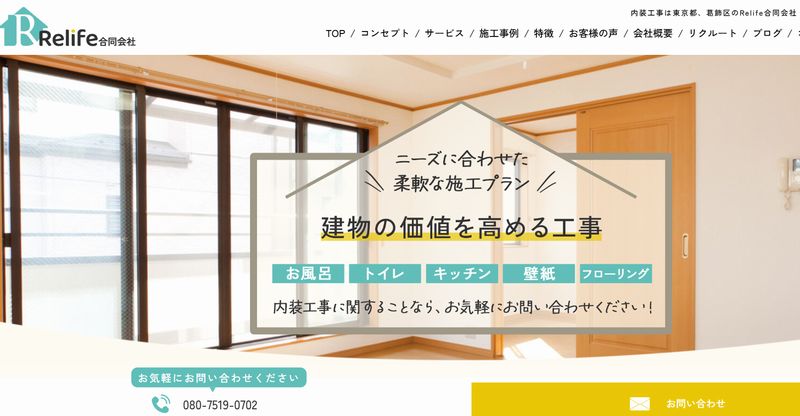
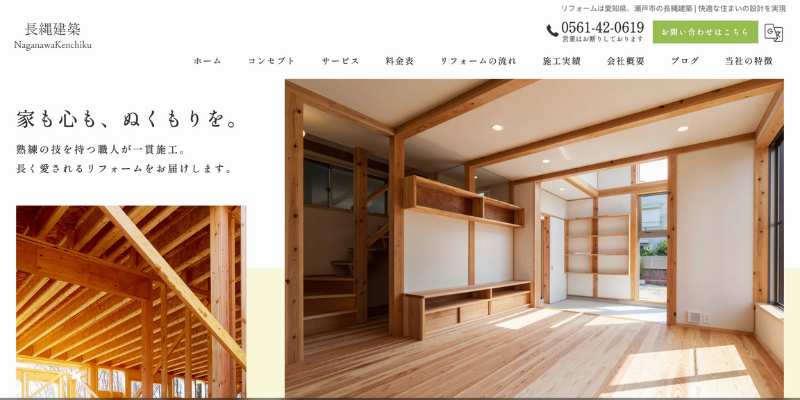
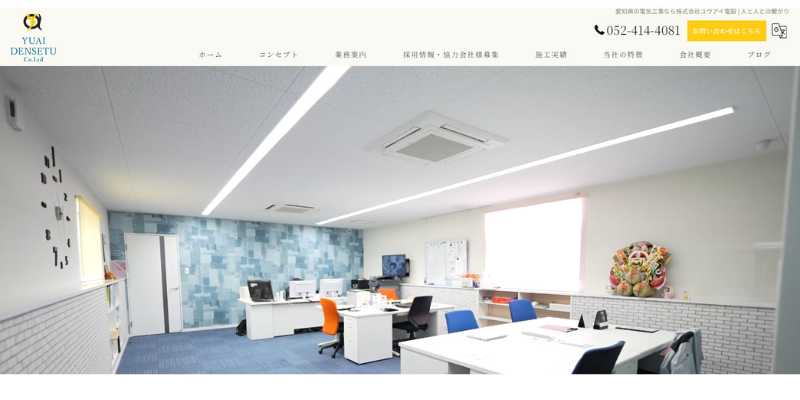
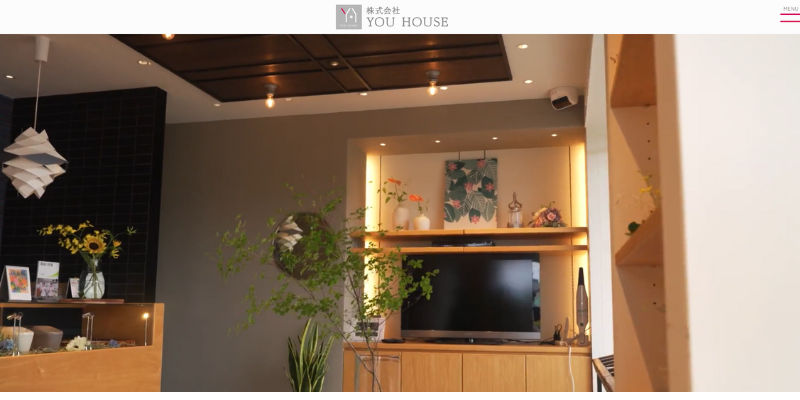
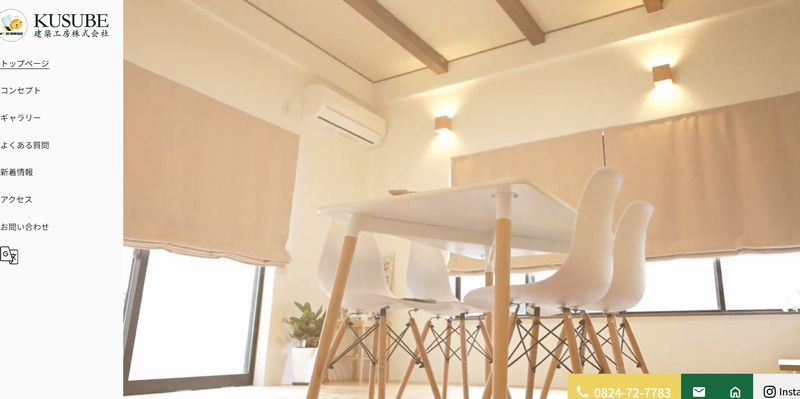
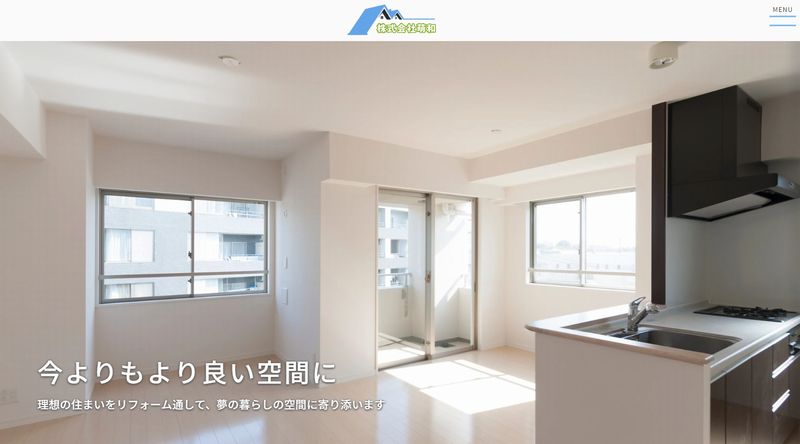
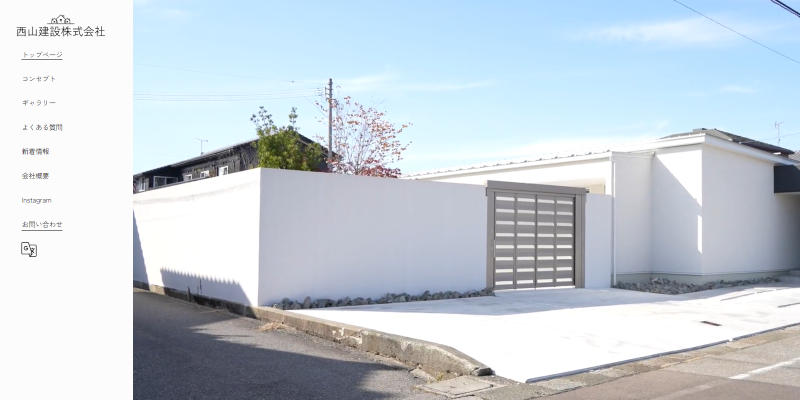
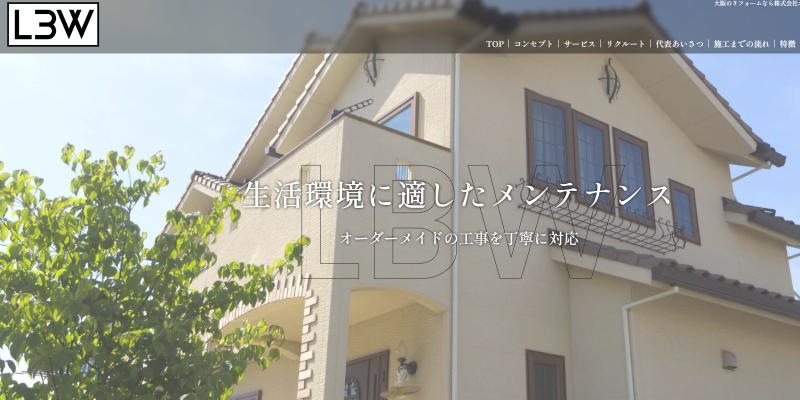
株式会社友紀建築工房で叶える理想の住空間とは何か
住まいは単なる建物ではなく、そこに暮らす人々の人生を形作る大切な舞台です。理想の住空間を求める多くの人々が、自分たちの価値観や生活スタイルを反映した家づくりを望んでいます。そんな中、顧客一人ひとりの思…
[住宅設備設計リフォーム関連][住宅設計・工事・施工]0views
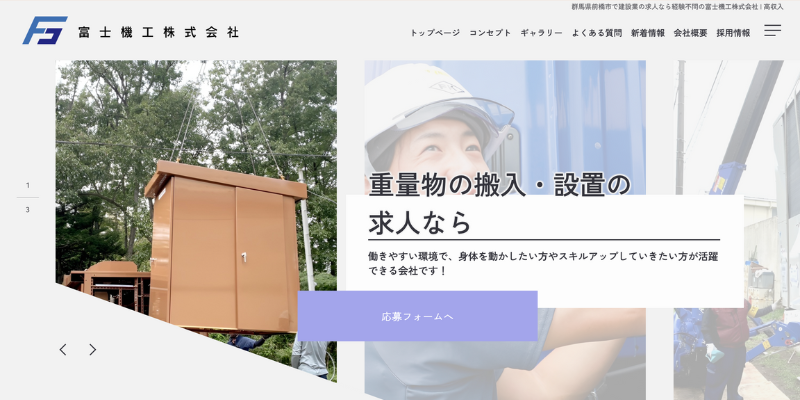
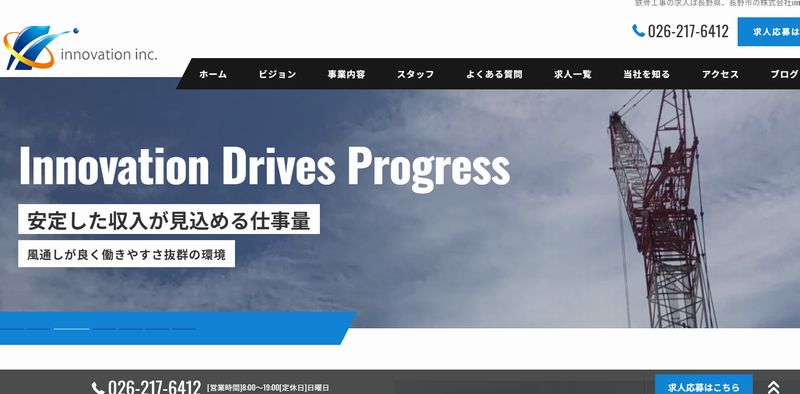
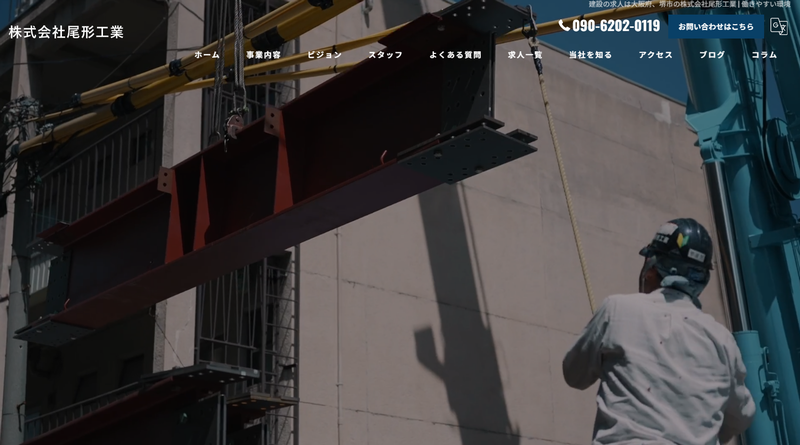
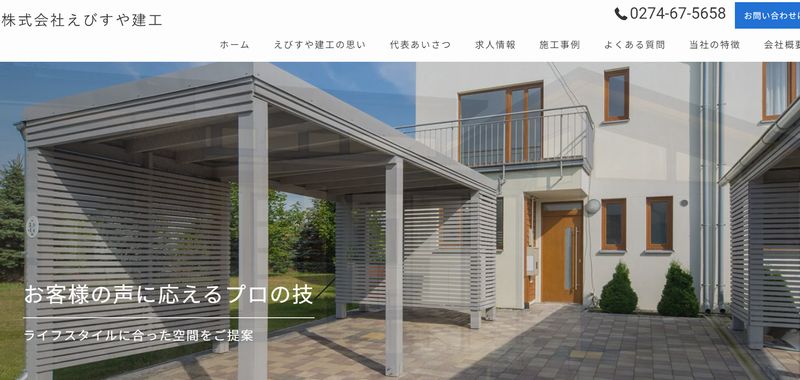
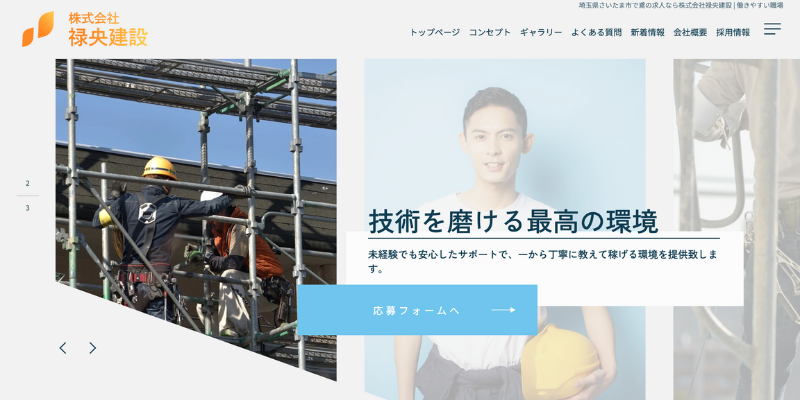
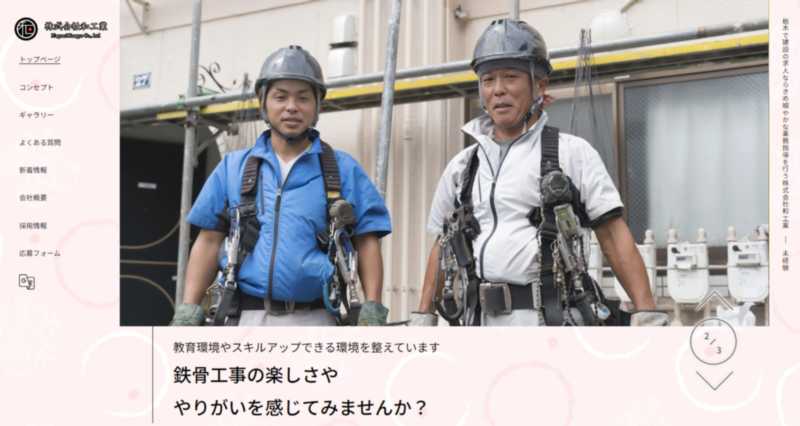
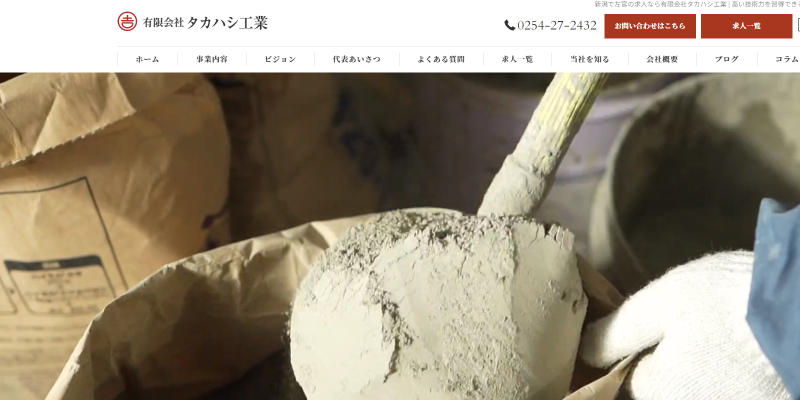
前橋市の建設業で安定収入を得るための正社員求人ガイド
安定した収入と将来性を求める方にとって、建設業界は魅力的な選択肢となっています。特に群馬県の中心部に位置する前橋市では、都市開発や住宅建設が活発に行われており、建設業界の求人ニーズが高まっています。正…
[住宅設備設計リフォーム関連][住宅設計・工事・施工]0views
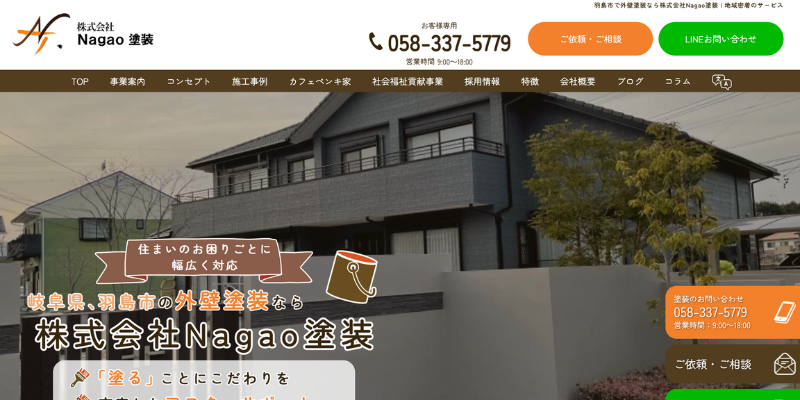
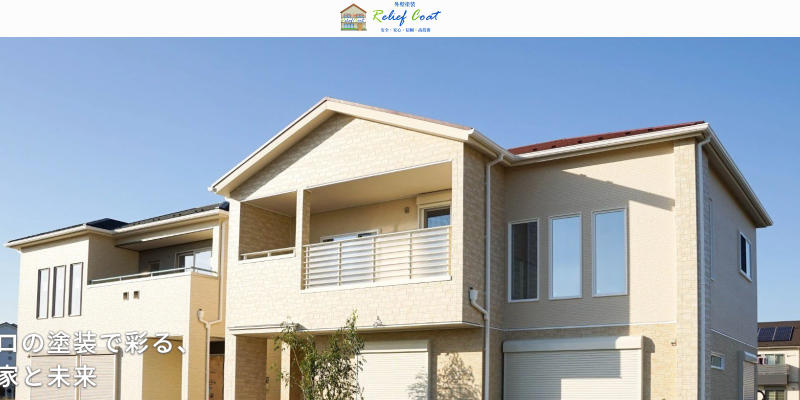
羽島市の外壁塗装なら職人技術で長持ち保証付き施工を実現
住まいの外観を美しく保ち、建物を長持ちさせるためには、定期的な外壁塗装が欠かせません。特に四季の変化が鮮明な岐阜県羽島市では、気温差や湿度の影響で外壁の劣化が進みやすい環境にあります。そんな羽島市で信…
[住宅設備設計リフォーム関連][外壁塗装]0views
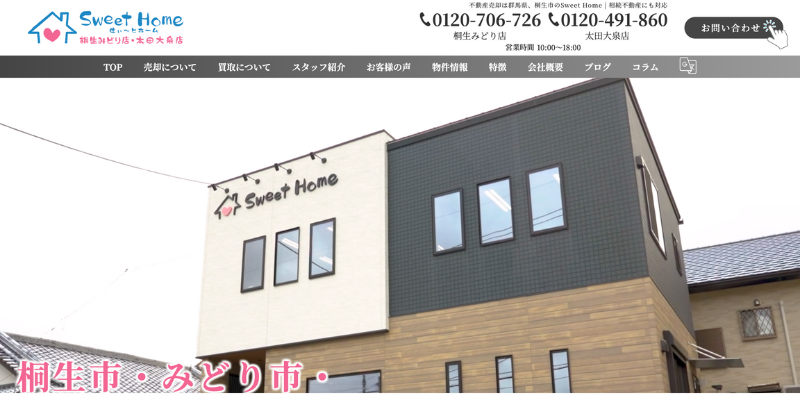
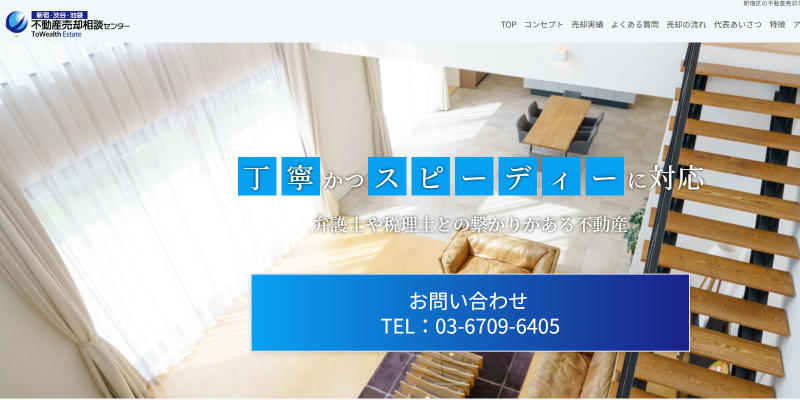
相模原市不動産売却のプロが教える空き家を高く売るための5つのポイント
空き家の管理や処分に悩む方が増えている昨今、適切な不動産売却の知識を持つことは非常に重要です。特に相模原市では、地域特性を理解した上での売却戦略が求められます。空き家をただ放置するのではなく、最適なタ…
[不動産業][不動産・賃貸]0views
熊本市の不動産売却で失敗しない秘訣と相場の真実
不動産売却は人生の中でも大きな決断の一つです。特に熊本市のような地方都市では、地域特有の市場動向や売却のタイミングが重要になります。適切な情報と信頼できるパートナーがあれば、不安を感じることなく、満足…
[不動産業][不動産・賃貸]0views
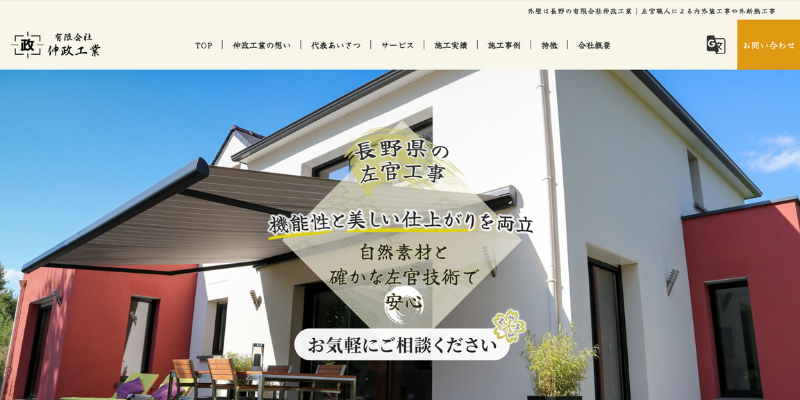
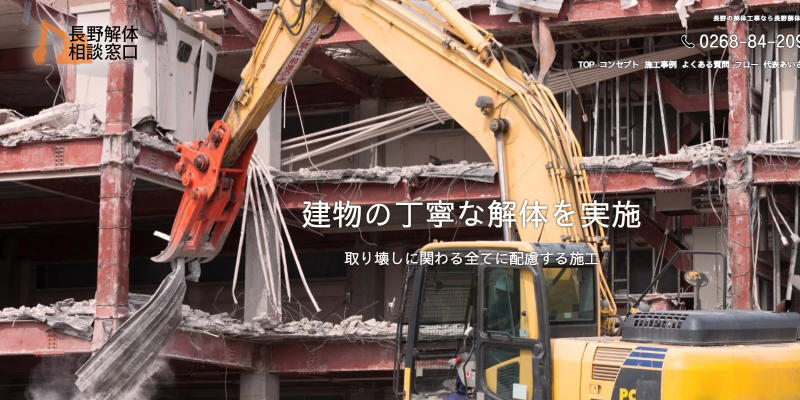
長野の外壁タイル施工で理想の住まいを実現するプロの技術と実績
住まいの印象を大きく左右する外壁。特に長野県のような四季がはっきりした地域では、美観だけでなく耐久性や断熱性も重要な要素となります。タイル外壁は耐久性に優れ、メンテナンス頻度が少なく経済的であるという…
[住宅設備設計リフォーム関連][外壁塗装]0views

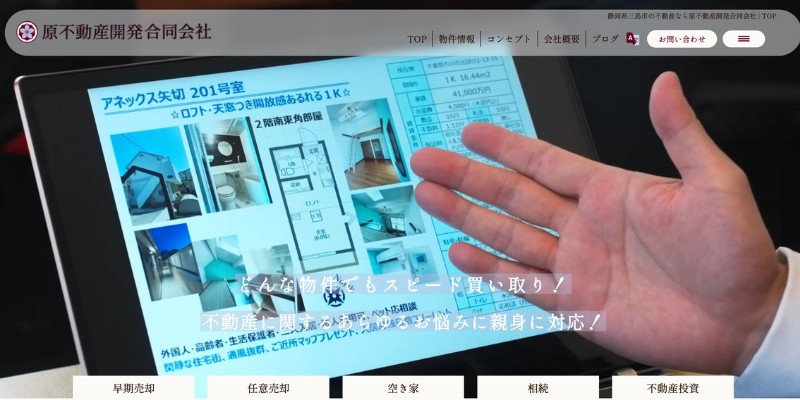
不動産売却で南アルプス市の相場を知るための完全ガイド
不動産を売却する際、地域の相場を正確に把握することは成功への第一歩です。特に山梨県南アルプス市のような自然豊かで住環境に恵まれた地域では、地域特性を理解した上での売却活動が重要になります。適切な価格設…
[不動産業][不動産・賃貸]0views
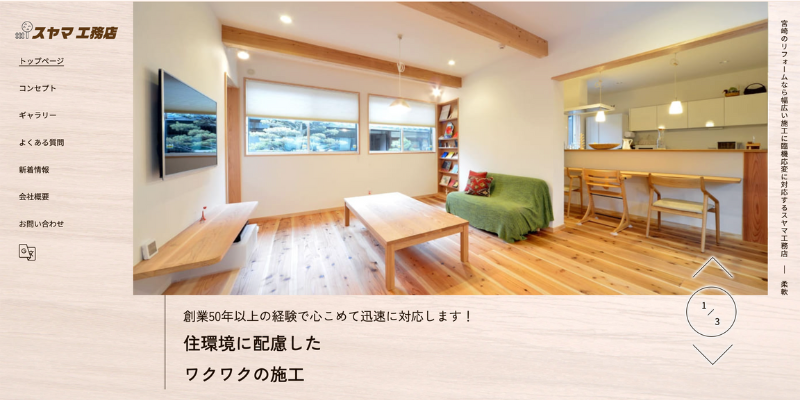
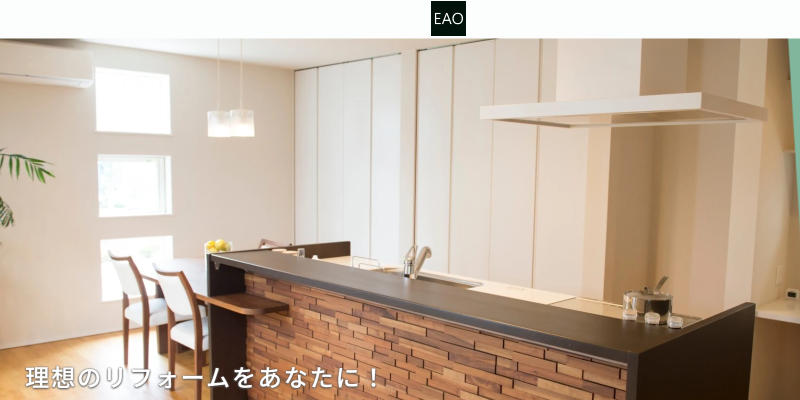
宮崎リフォームで空き家再生 自分らしい暮らしへの第一歩
空き家の増加が社会問題となる中、再生活用という選択肢が注目を集めています。眠っている空き家を、自分らしい暮らしの場へと変える「空き家リノベーション」。宮崎県でも、古い家屋に新たな命を吹き込む取り組みが…
[住宅設備設計リフォーム関連][リフォーム]0views
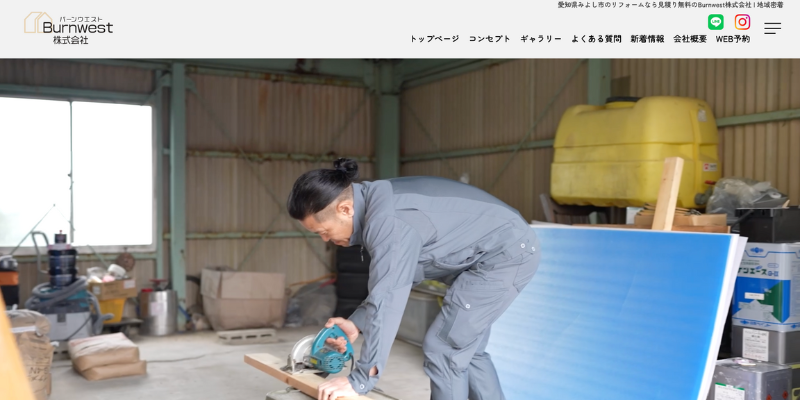
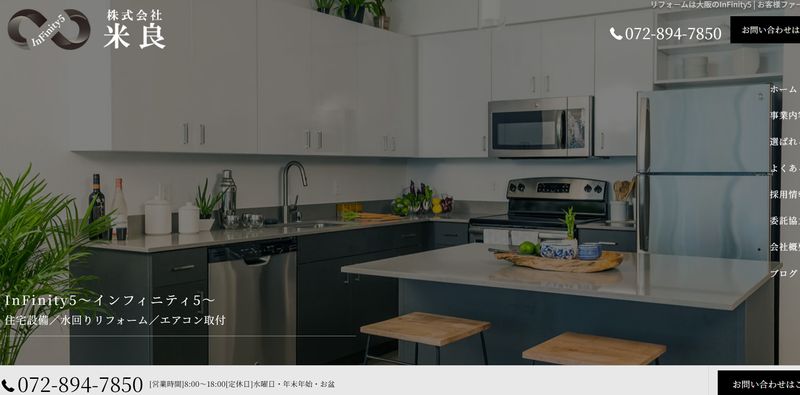
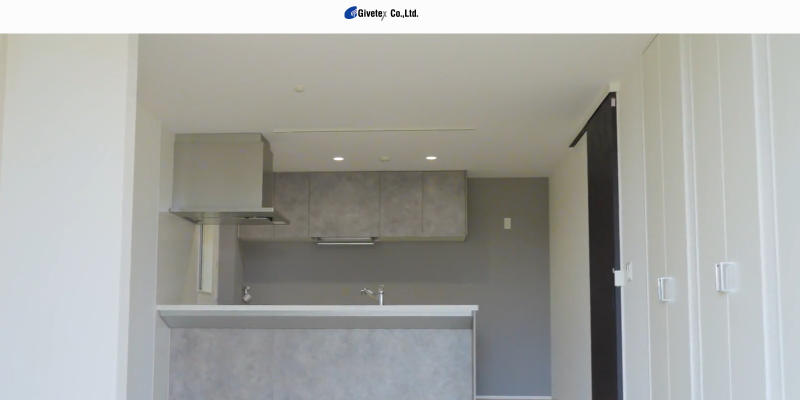
リフォーム みよし市で水回りの悩み解決 快適な住まいへの第一歩
住まいの水回りは毎日の生活に直結する重要な空間です。キッチンやバスルーム、トイレなどの劣化や不具合は、日常生活に大きなストレスをもたらします。愛知県みよし市で水回りのリフォームをお考えの方に朗報です。…
[住宅設備設計リフォーム関連][リフォーム]0views
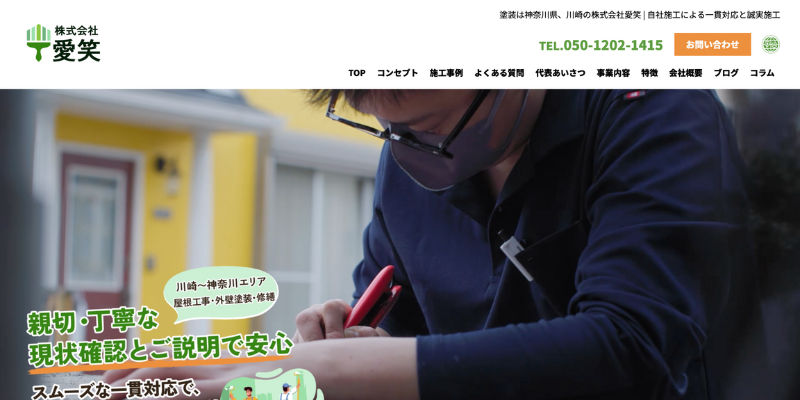
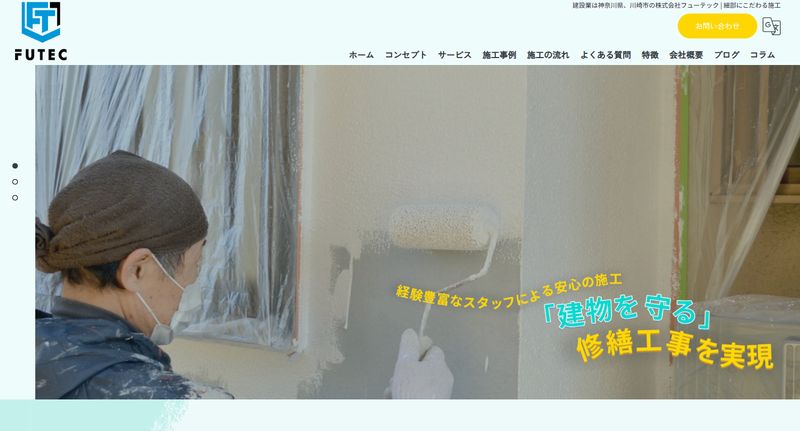
川崎の塗装なら愛笑におまかせ 安心品質と実績で選ばれる理由
住まいの美観と耐久性を左右する外装塗装。適切な時期に質の高い塗装を施すことで、建物の寿命を延ばし資産価値を維持できます。神奈川県内でも特に川崎 塗装の需要は高く、多くの業者がサービスを展開しています。…
[住宅設備設計リフォーム関連][外壁塗装]0views